900 Technical InstructionWater & Solvent Resistant
Diazo Emulsion
Related Products

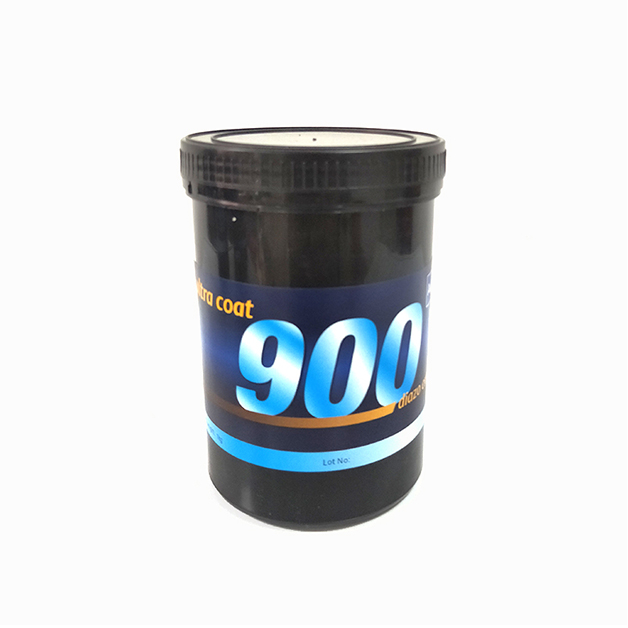
Suitable for the production of high-precision and fine line screen printing, good performance in the textile printing and solvent printing industries, such as PCB/FPC circuit board, flower paper industry and any high-precision line or dot point screen printing.
|
Barrel Weight |
Viscosity(mPa.s) |
Solid Content(%) |
Diazo Usage |
|
Room Temp. 25℃ |
|||
|
1KG/bottle 5KG/barrel |
12000~16000 |
35~38 |
3g 15g |
1. Excellent resistant to both water-based & solvent-based ink, high printing durability.
2. High photosensitivity, short exposure time.
3. Excellent resolution and good graphic reproducibility, can produce fine lines images.
4. High solid content, easy to apply coat, smooth appearance, fast development.
5. When using reclaimer remover, the emulsion film can easily remove and washes out from screen stencil, we recommend to used together with OOTA remover powder, it can increase the screen stencil reuse cycle rate.
6. Match using together with OOTA Hardener (A+B) can improve print durability.
|
Mesh Type |
Mesh Color |
Coat Thickness |
Light Source |
Light Distance |
Exposure Time Reference |
|
140S (350micron) |
Yellow |
10±1um |
3KW Metal Halid Lamp |
100cm |
30~60s |
|
120T (300micron) |
White |
10±1um |
3KW Metal Halid Lamp |
100cm |
15~45s |
The below exposure reference is referred from laboratory data, in practical, user have to find the appropriate exposure conditions according to the exposure equipment unit and actual coating film thickness.
1. Diazo emulsion mixing (1kg bottle as Examples)
(1) Pour the diazo photosensitizer into a container, add 100ml of purified water mix up together and then stir until the diazo photosensitizer is completely dissolved, and then lay up for 10 minutes.
(2) Pour the dissolved diazo photosensitizer into the emulsion, thoroughly stir with glass or wooden rod until the color of the emulsion is consistent and no color uneven mixing. Lay up for 8 hours until the bubbles are eliminated before use.
2. Preparation before coating - Screen mesh cleaning
(1) Apply degreaser evenly to both sides of the screen and scrubbing, leave the mesh horizontally to permeate for a few minutes, and then rinse thoroughly with clean water (recommended to use a high-pressure water spray gun to ensure degreaser should not remain on the screen).
(2) Place the cleaned screen in a drying oven (with a temperature of 40 ± 2℃) and thoroughly dry it.
Note: Cleaning the screen with using degreaser can reduce the generation of bubbles and pinholes due to dust and other dirt on the screen, and increase the screen's fastness and printing durability.
3. Coating & Drying Process
Check the cleaned and dried screen, and confirm that there is no dust or residue remain
on the screen.
Apply emulsion with using scoop coater/professional equipment. Generally, apply the P
surface first and then the S surface (coating process depends on customer needs thickness). After coating, place it in a drying oven (temperature inside the oven is 40 ± 2℃) for thorough drying.
Take out the screen and measure the film thickness. If the film thickness does not reach
the required thickness. Then proceed to the second coating process and thoroughly dry until the required film thickness is achieved.
Note: The screen must be thoroughly dried every single costing process before the next coating process or exposure. Incomplete drying in coating process may easily result film peel off issue.
4. Exposing
When the film thickness meets the required thickness, use an exposure calculator for measure exposure level and select the optimal exposure time.
Note: The film and exposure unit glass should ensure clean and dust-free to avoid pinholes; The film should tightly attach with the screen to avoid affecting the plate making effect.
5. Developing
(1) Soak the screen into water (about 1-2 minutes), shake it in water, and when found some images appear, use a water spray gun to rinse the P and S surfaces for imaging.
(2) After development, remove remain water on screen and dry up.
Note: Long term immersion in water before imaging can cause the cured part to easily expand and causing the emulsion film to peel off and affect the image quality.
6. Secondary Exposing
Place S facing of screen towards the light source and perform a secondary exposure with twice the duration of the first exposure.
Note: By performing secondary exposure or put on OOTA Hardener(A+B) agent, will increase the screen-printing durability & performance.
1. STORAGE: The optimal storage temperature for photosensitive emulsion is in a dark place at 20℃. Do not store in an environment above 25℃ or below 5℃, as it may cause chemical and physical reaction and affect normal use. SBQ has high sensitivity characteristic, so it has to ensure to keep it away from direct light.
2. OPERATING ENVIRONMENT: It is necessary to operate under yellow light condition and in a dust-free environment, must avoid operating under white direct light to prevent premature exposure of the photosensitive emulsion.
3. DEGREASING: Before applying photosensitive emulsion on screen mesh, the screen should be thoroughly cleaned with specialized degreasing agent to remove oil grease stain and dirt. After thorough cleaning and drying, it can ensure high-quality screen production.
4. OVEN TEMPARATURE: The optimal temperature for the drying oven is below 40℃. When it exceeds 40℃, the photosensitive emulsion is prone to thermal reactions, which can affect and reduce image resolution. Suggest to perform monthly check and control the temperature inside the oven is consistent within the set temperature.
5. DEVELOPMENT - Winter/Cold Condition: If the development water temperature is too low in winter, it will cause poor screen development and decreased resolution. It is recommended to use warm water (25℃) for development.
6. PRINTING DURABILITY: It is recommended to use hardener or secondary exposure process to increase the screen-printing durability.
Xinfuhang Screen Printing Materials (Shenzhen) Co., Ltd.
Dawei 5th Road, Xinqiao 3rd Industrial Zone, Shajing Town, Bao'an District, Shenzhen
+86 136-9165-6609
2814897140@qq.com
Copyright ©2026 All Rights Reserved Xinfuhang Screen Printing Materials (Shenzhen) Co., Ltd. Support: Yuelian Network
